This article provides steps on how to schedule a report. Scheduling a report allows you to customize the report to your specifications on a scheduled basis.
Report Permissions:
Reports are role based and the role controls report parameters such as learners and displayed fields.
Report roles:
Administrative-This role enables LMS administrators the most comprehensive access. This includes all users and additional administrative fields in the report display.
Executive- This role is assigned to users in a role requiring data from their managers and their direct reports.
Manager- This role allows reports to be generated for direct reports only. The manager can only see report data for learners with their email address in the manager field.
Trainer-This role is assigned to the organization trainer, or anyone needing to manage reports and data for the organization or franchise.
Please note: The reports used in this article are generated under the Executive role and may vary slightly based on your role assignment.
Step 1. Log in to the LMS by going to Learn.Sandler.com. Click on Reports on the top menu bar. From the Reports box on the left, select Scheduled Reports.

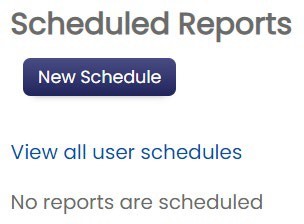
Step 2. Select New Schedule. This will take you to the Scheduled Reports page.
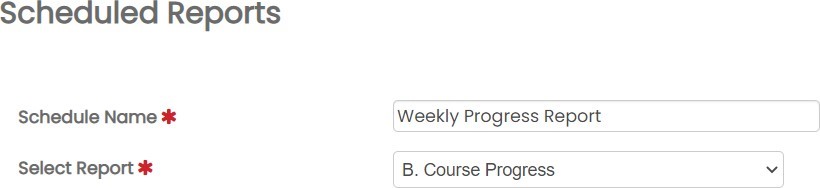
Step 3. Complete the mandatory fields to define the scheduled report.
Complete *mandatory fields.
- Schedule Name: Ex. Weekly Progress Report
- Select Report: (Dropdown menu): Ex. B. Course Progress
(example)
Complete the Email Options Section
- Recipients: Email addresses of who is receiving the report separated by a comma
- Subject: Subject in email. The email will come from no-reply@mail.zoola.io
(example)

Step 4. Select Save Changes when done. The report is now scheduled.

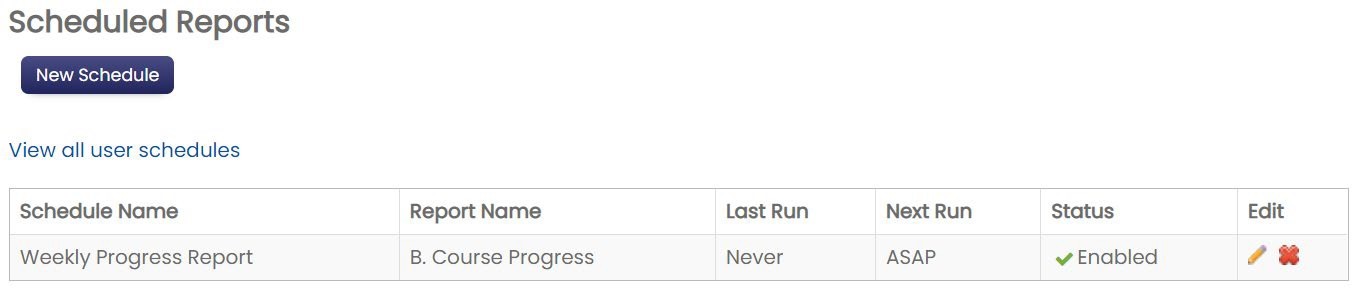
Step 5. You can view the newly scheduled report by going back to the Scheduled Reports page.
Helpful Hints:
The following fields are optional and allow further customization to the schedule report.
- Report Filters: These filters change depending on what report you select. You can select none or filter based on specific information needed for the report
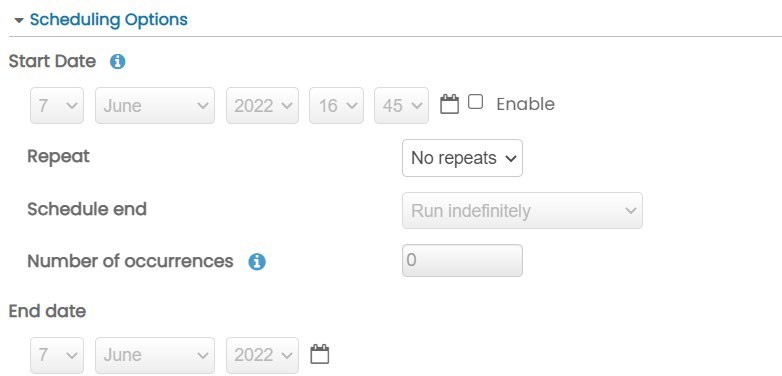
- Scheduling Options:
- Start Date: When the report should be scheduled for the first time. If not enabled, that means schedule the report immediately
- Repeat: No repeats, daily, weekly, monthly
- Schedule end: Run indefinitely, run a set number of times, run until a specified date
- Number of Occurrences: Specify the number of schedule occurrences that should take place before the schedule is disabled.
- End date: The final date the report should be scheduled.
(example)
Comments
0 comments
Please sign in to leave a comment.